Generated geometry is not automatically model-ready.
The generated data still needed scale and shape corrections. A form that works on screen still requires hands-on editing before it works as a physical model.
 JP
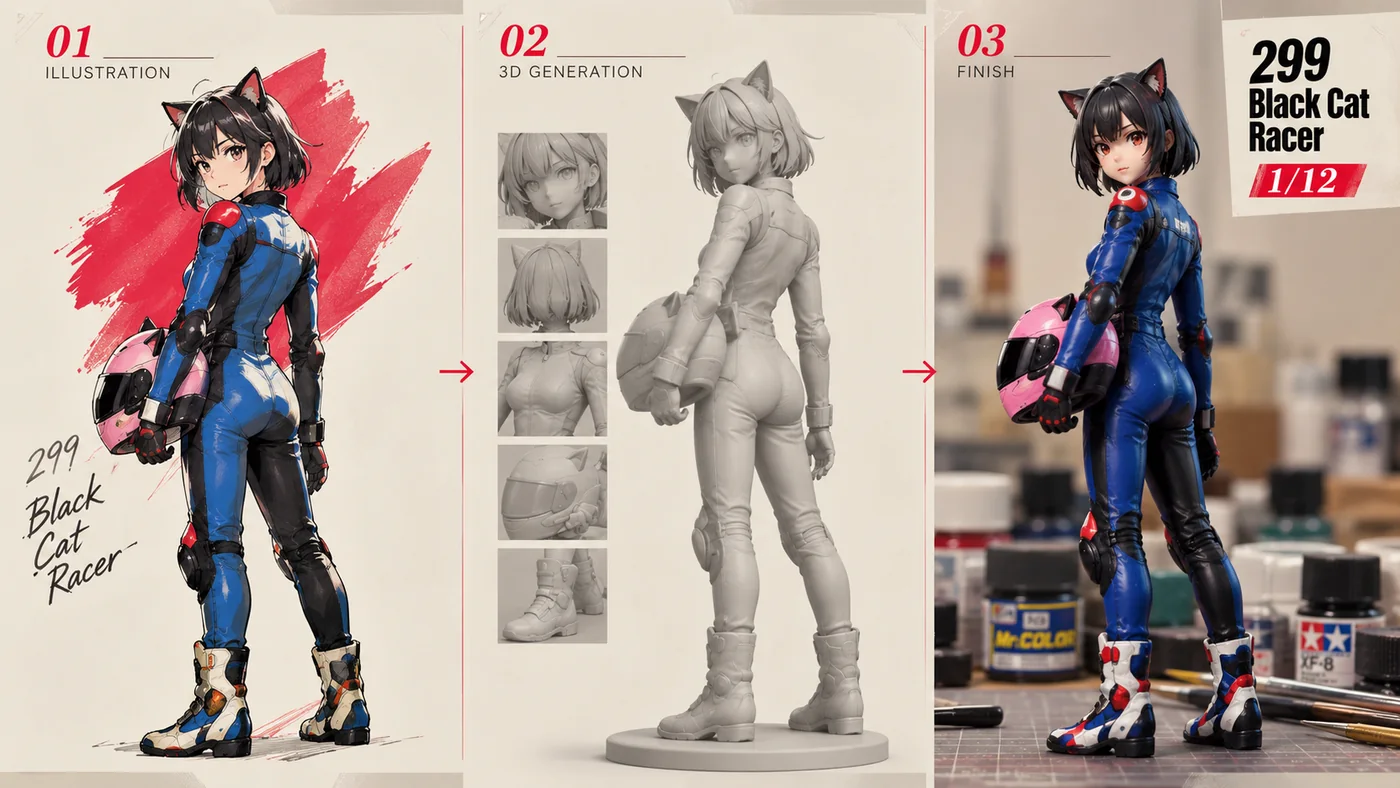
JPAn original 1/12 racing figure created to stand beside a GSX-RR build. This six-part record follows character design, AI-assisted image and 3D generation, Blender corrections, resin printing, painting, custom decals, and the separate helmet — all the way to a finished physical model.
01 / PROCESS
This series is not just about showing AI-generated images or a 3D mesh. The goal was to see what it takes to turn generated data into an actual 1/12 model: correcting it, printing it, checking the real object, painting it, applying decals, and finishing the separate helmet.
02 / FINDINGS
The generated data still needed scale and shape corrections. A form that works on screen still requires hands-on editing before it works as a physical model.
Faces, suit details, hands, legs, and equipment are easier to notice than at 1/24. Body proportions and final physical size had to be checked more carefully.
The helmet was generated separately instead of being fused to the figure. That made it easier to adjust, position, paint, and finish as its own model part.
Part splits, thin areas, surface marks, and fit are easier to judge in a physical print. Printing and returning to Blender for corrections became part of the workflow.
03 / ARTICLES
Plan a 1/12 racer to stand beside the GSX-RR, define the character direction, prepare front and rear source images, and generate the base 3D data in Tripo Studio.
Correct the generated mesh in Blender, determine the final 1/12 size from body proportions, and adjust the figure and helmet as practical model parts.
Resin-print the corrected 1/12 figure and check split parts, thin areas, print-surface marks, and test fitting in the physical output.
Build the racing-blue scheme with silver, red, and white details, then work through the hair, skin, eyes, and surface finish.
Apply custom decals prepared in Illustrator to the suit, protectors, boots, and even the eyes, working with relatively thick UV-printed decal film.
Finish the helmet with paint, decals, and its visor, then bring the 299 Black Cat Racer together as a completed original 1/12 figure.
The project connected character design, AI-assisted 3D generation, Blender corrections, resin printing, painting, custom decals, and the helmet into one completed original 1/12 racing figure.
The generated result was only the starting point. Scale, shape, printed test pieces, painting, decals, and physical assembly all remained part of the model-making work.
AI, Blender, and a resin printer worked best not as isolated tools, but as connected stages in a practical scale-model workflow.